
With Master Tour 3, you can have a list of individuals or user groups that are only allowed to see a particular selection of items in the Schedule, Travel, and Hotels sections.
This article covers how to:
Apply Visibility to Tours and Tour Dates
Understand Visibility on Mobile
Apply Visibility To Items
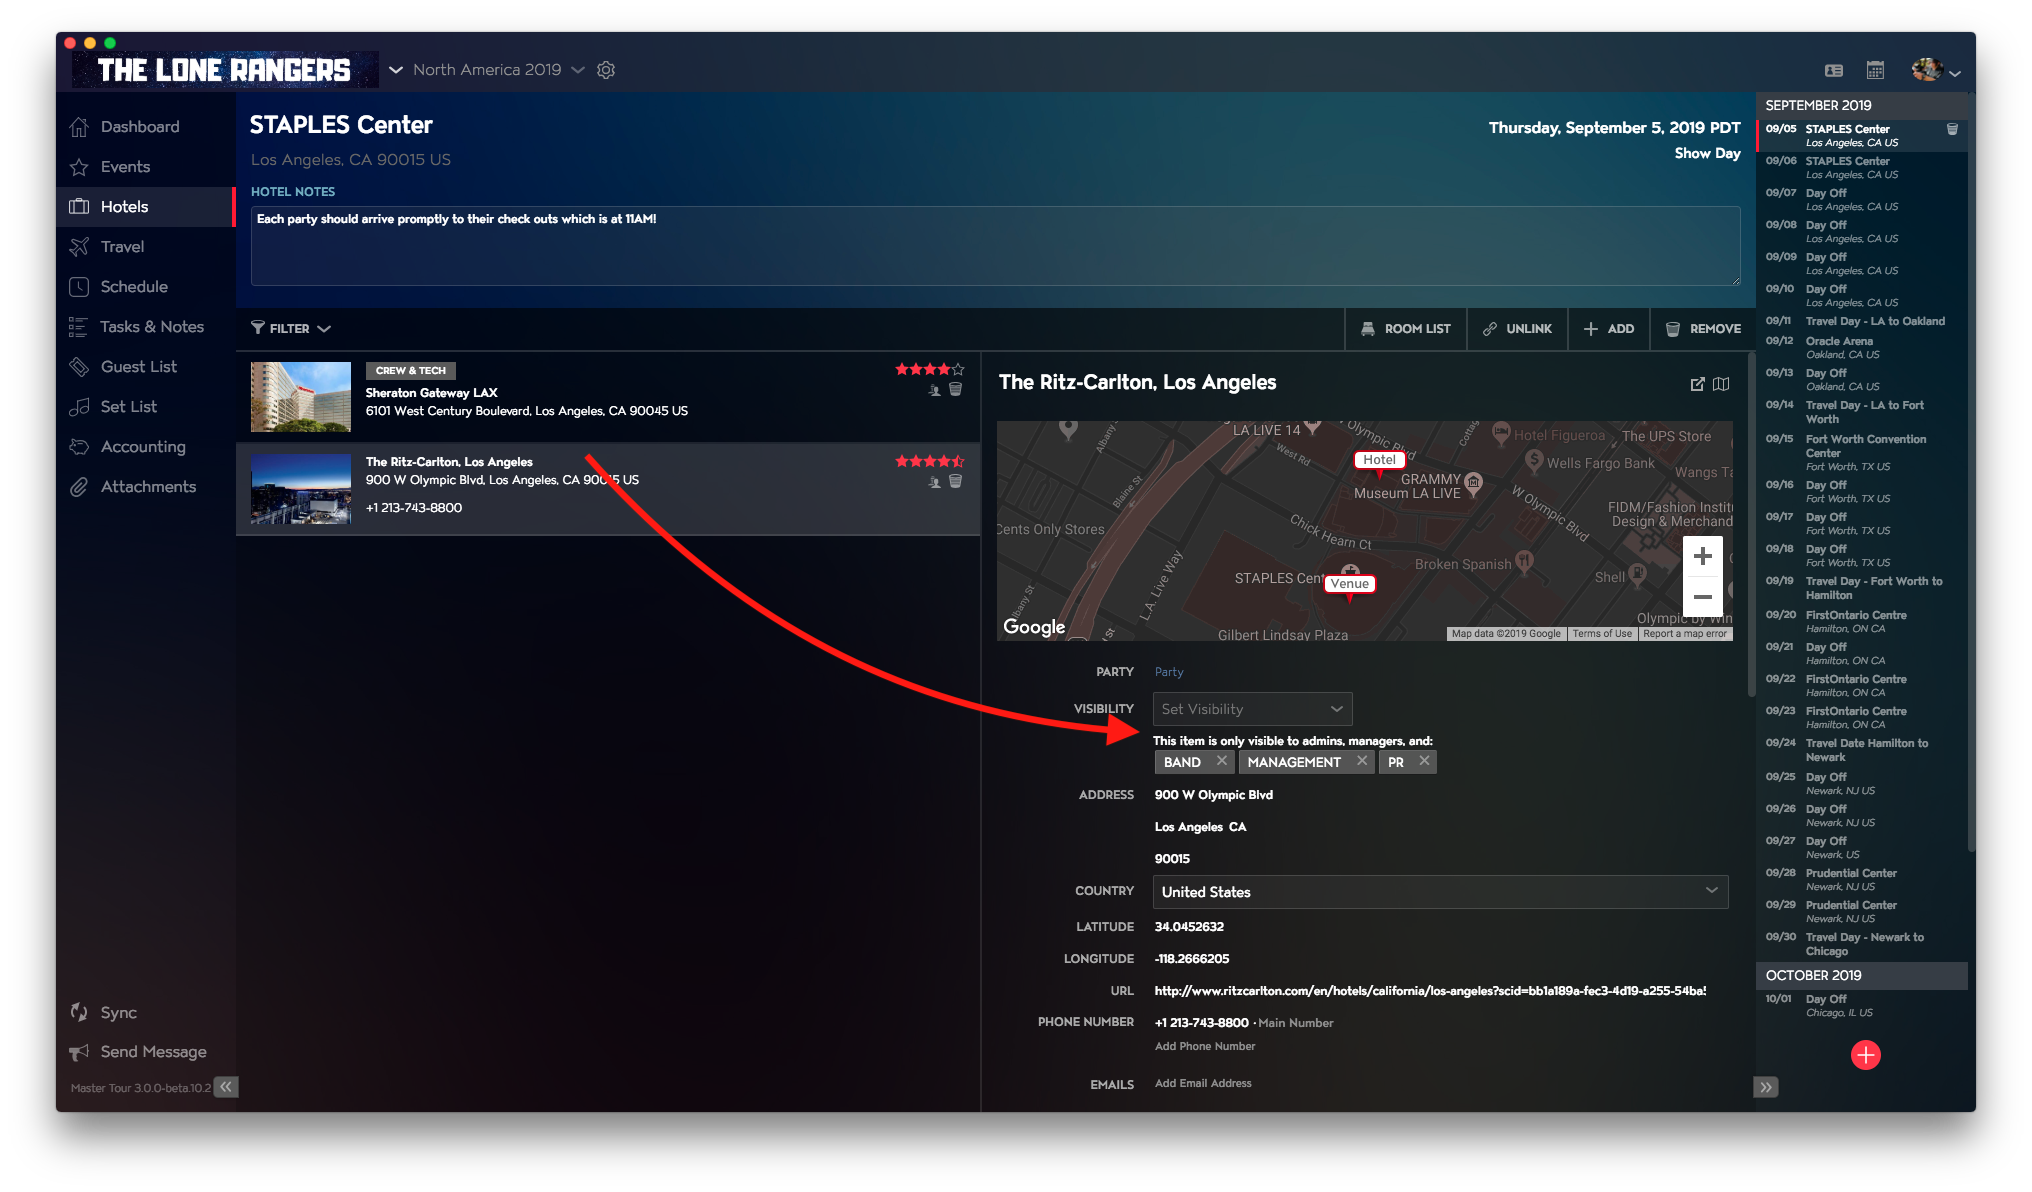
Visibility is found under the settings of the specific item you're editing. To find it, click on your item and scroll down on the right-hand section of it.
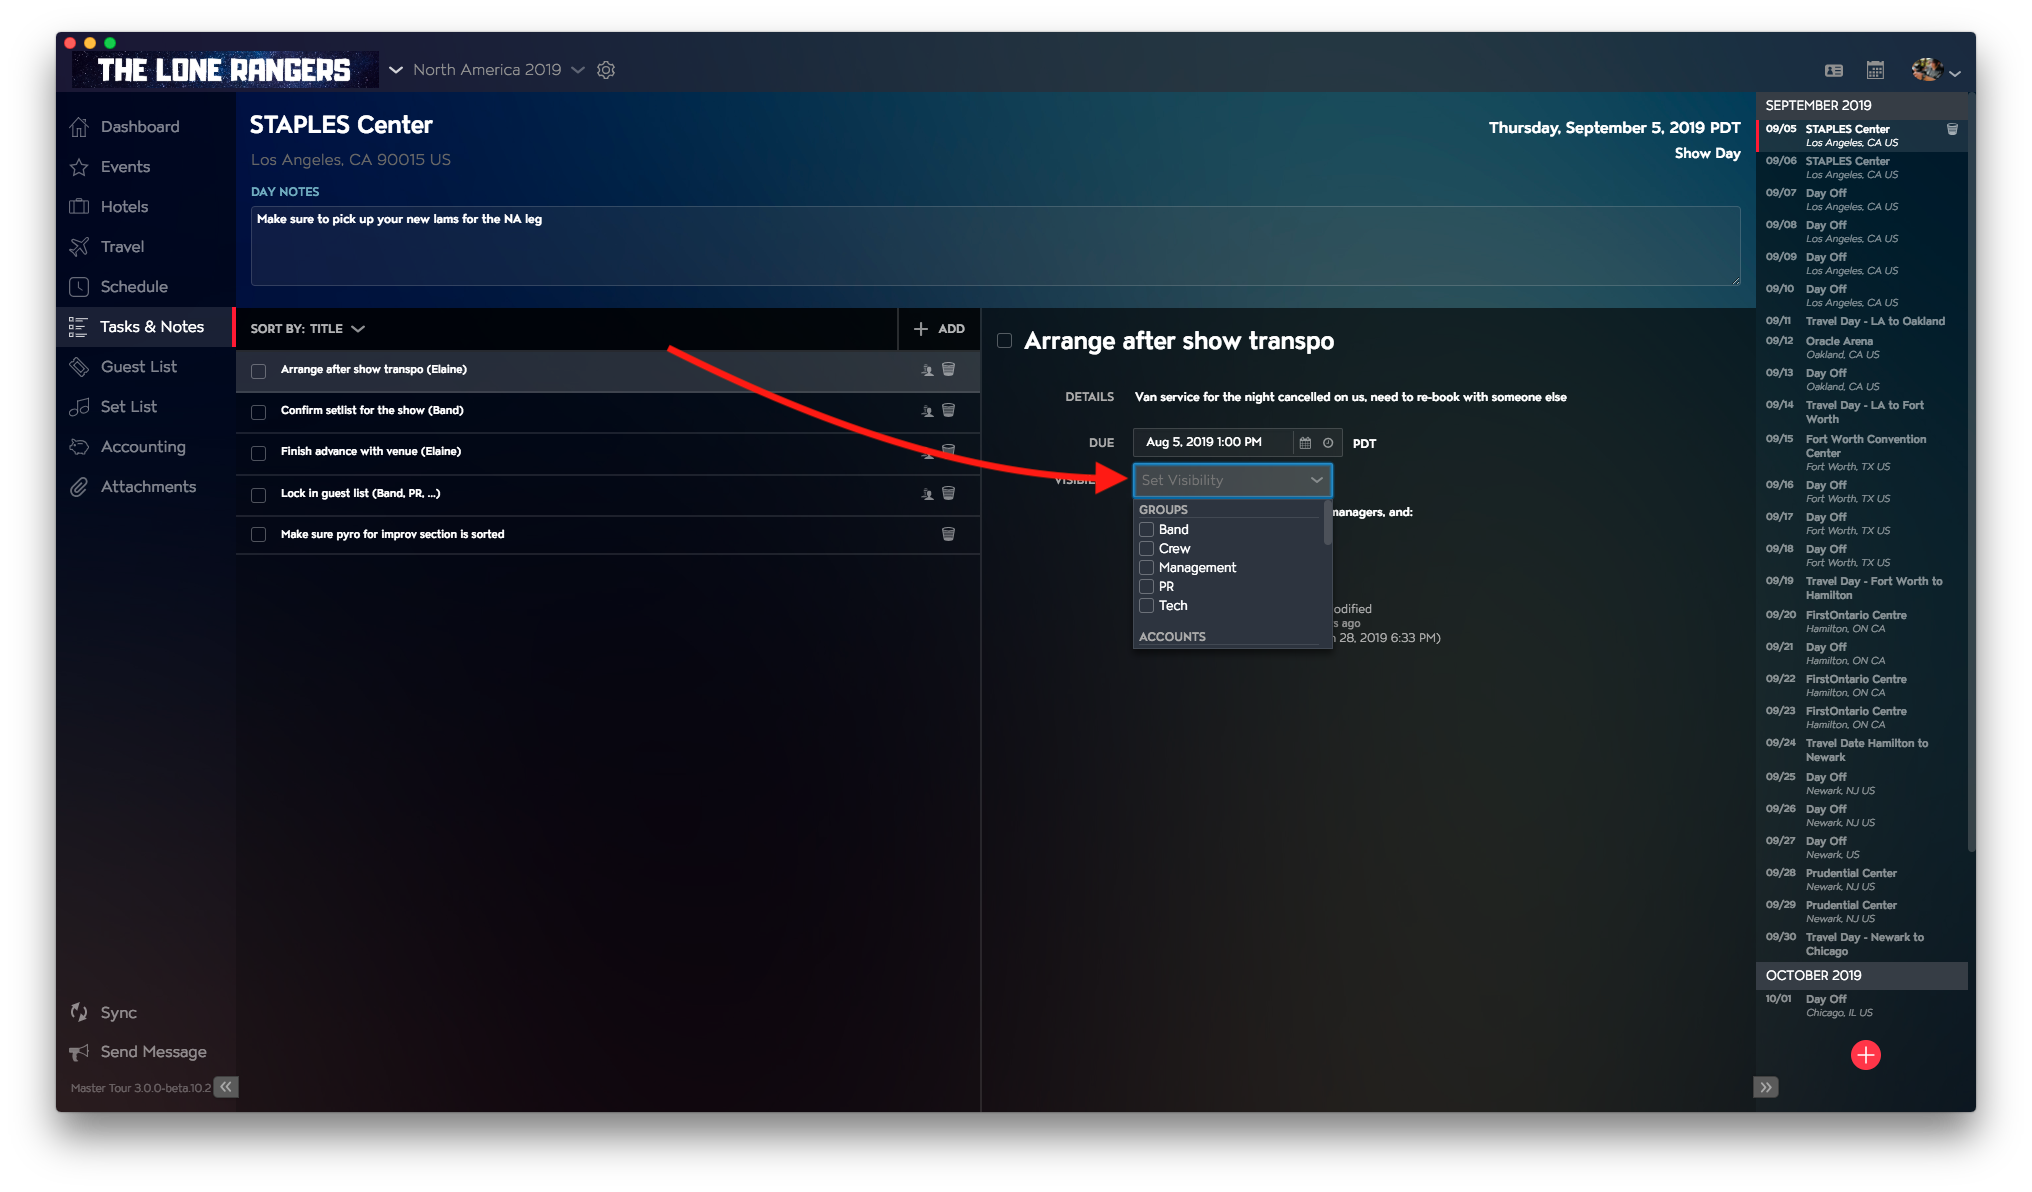
You can choose to apply visibility to both user groups or individual users by scrolling down on the dropdown menu.
Apply Visibility To Tours and Tour Dates.
To apply visibility to your tour dates, click on the dashboard section on the left-hand side after selecting your date on the right.
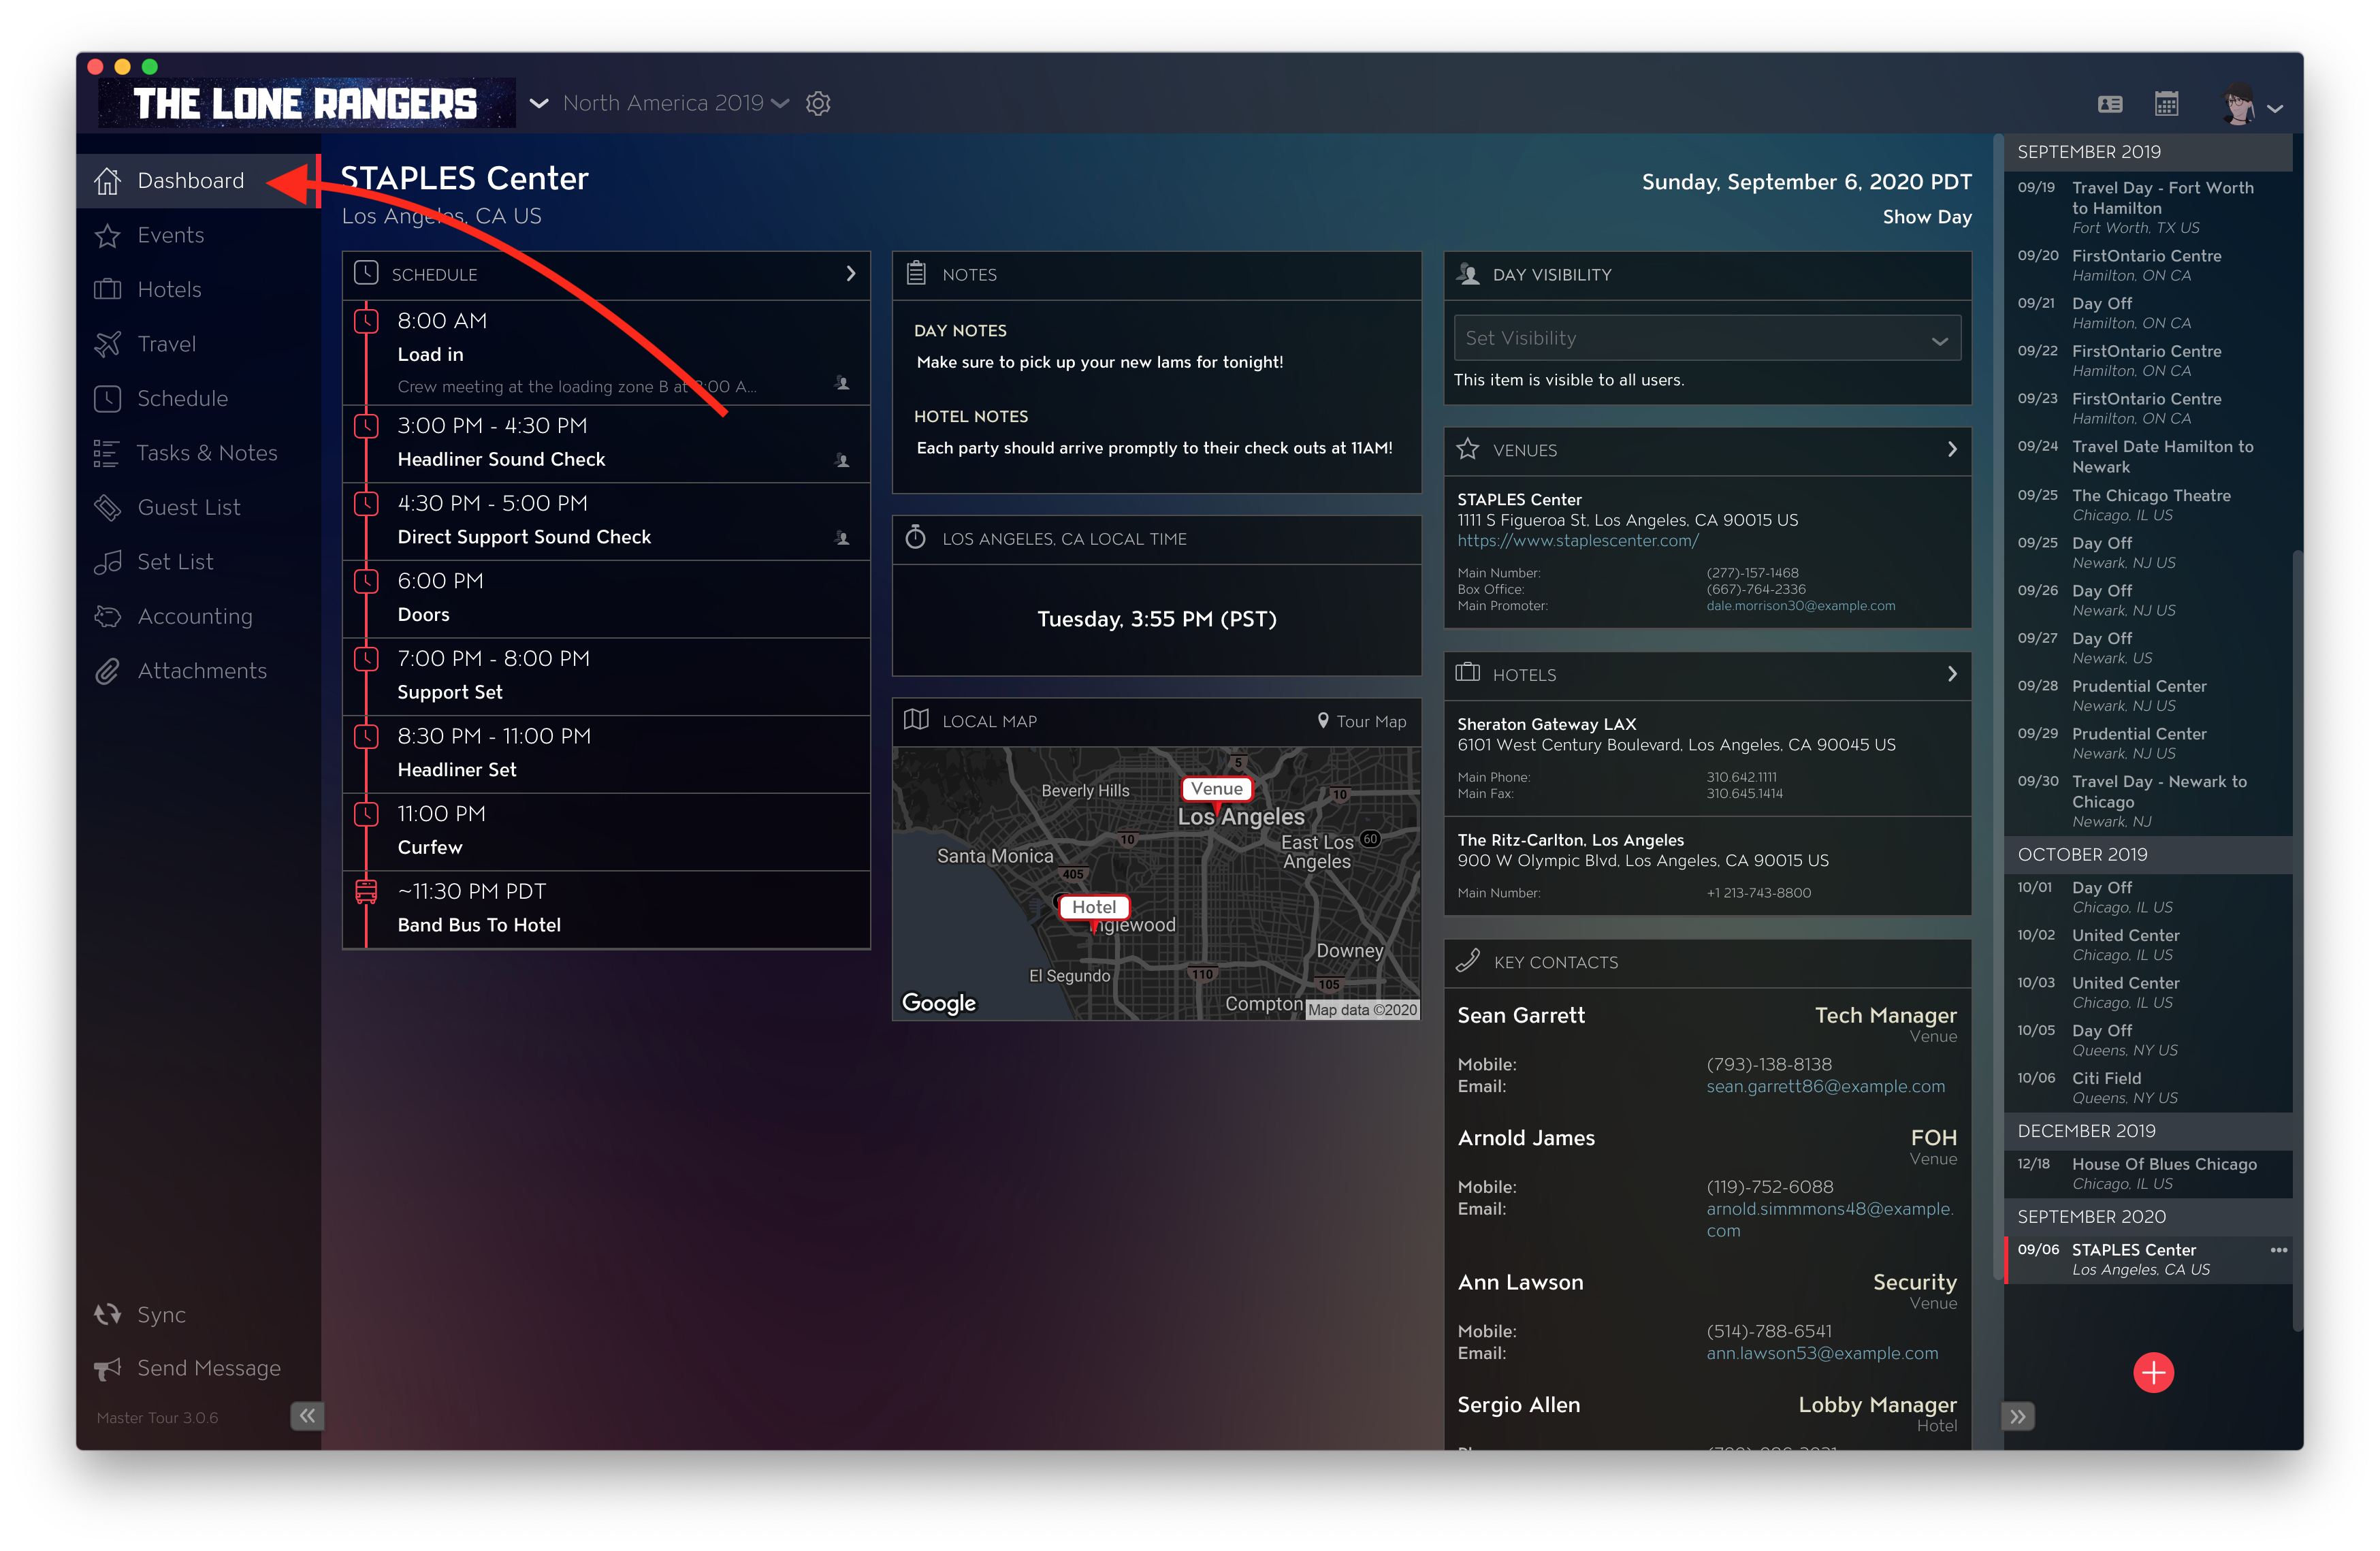
Once selected, you can find the option to apply visibility to a whole tour date at the top right.
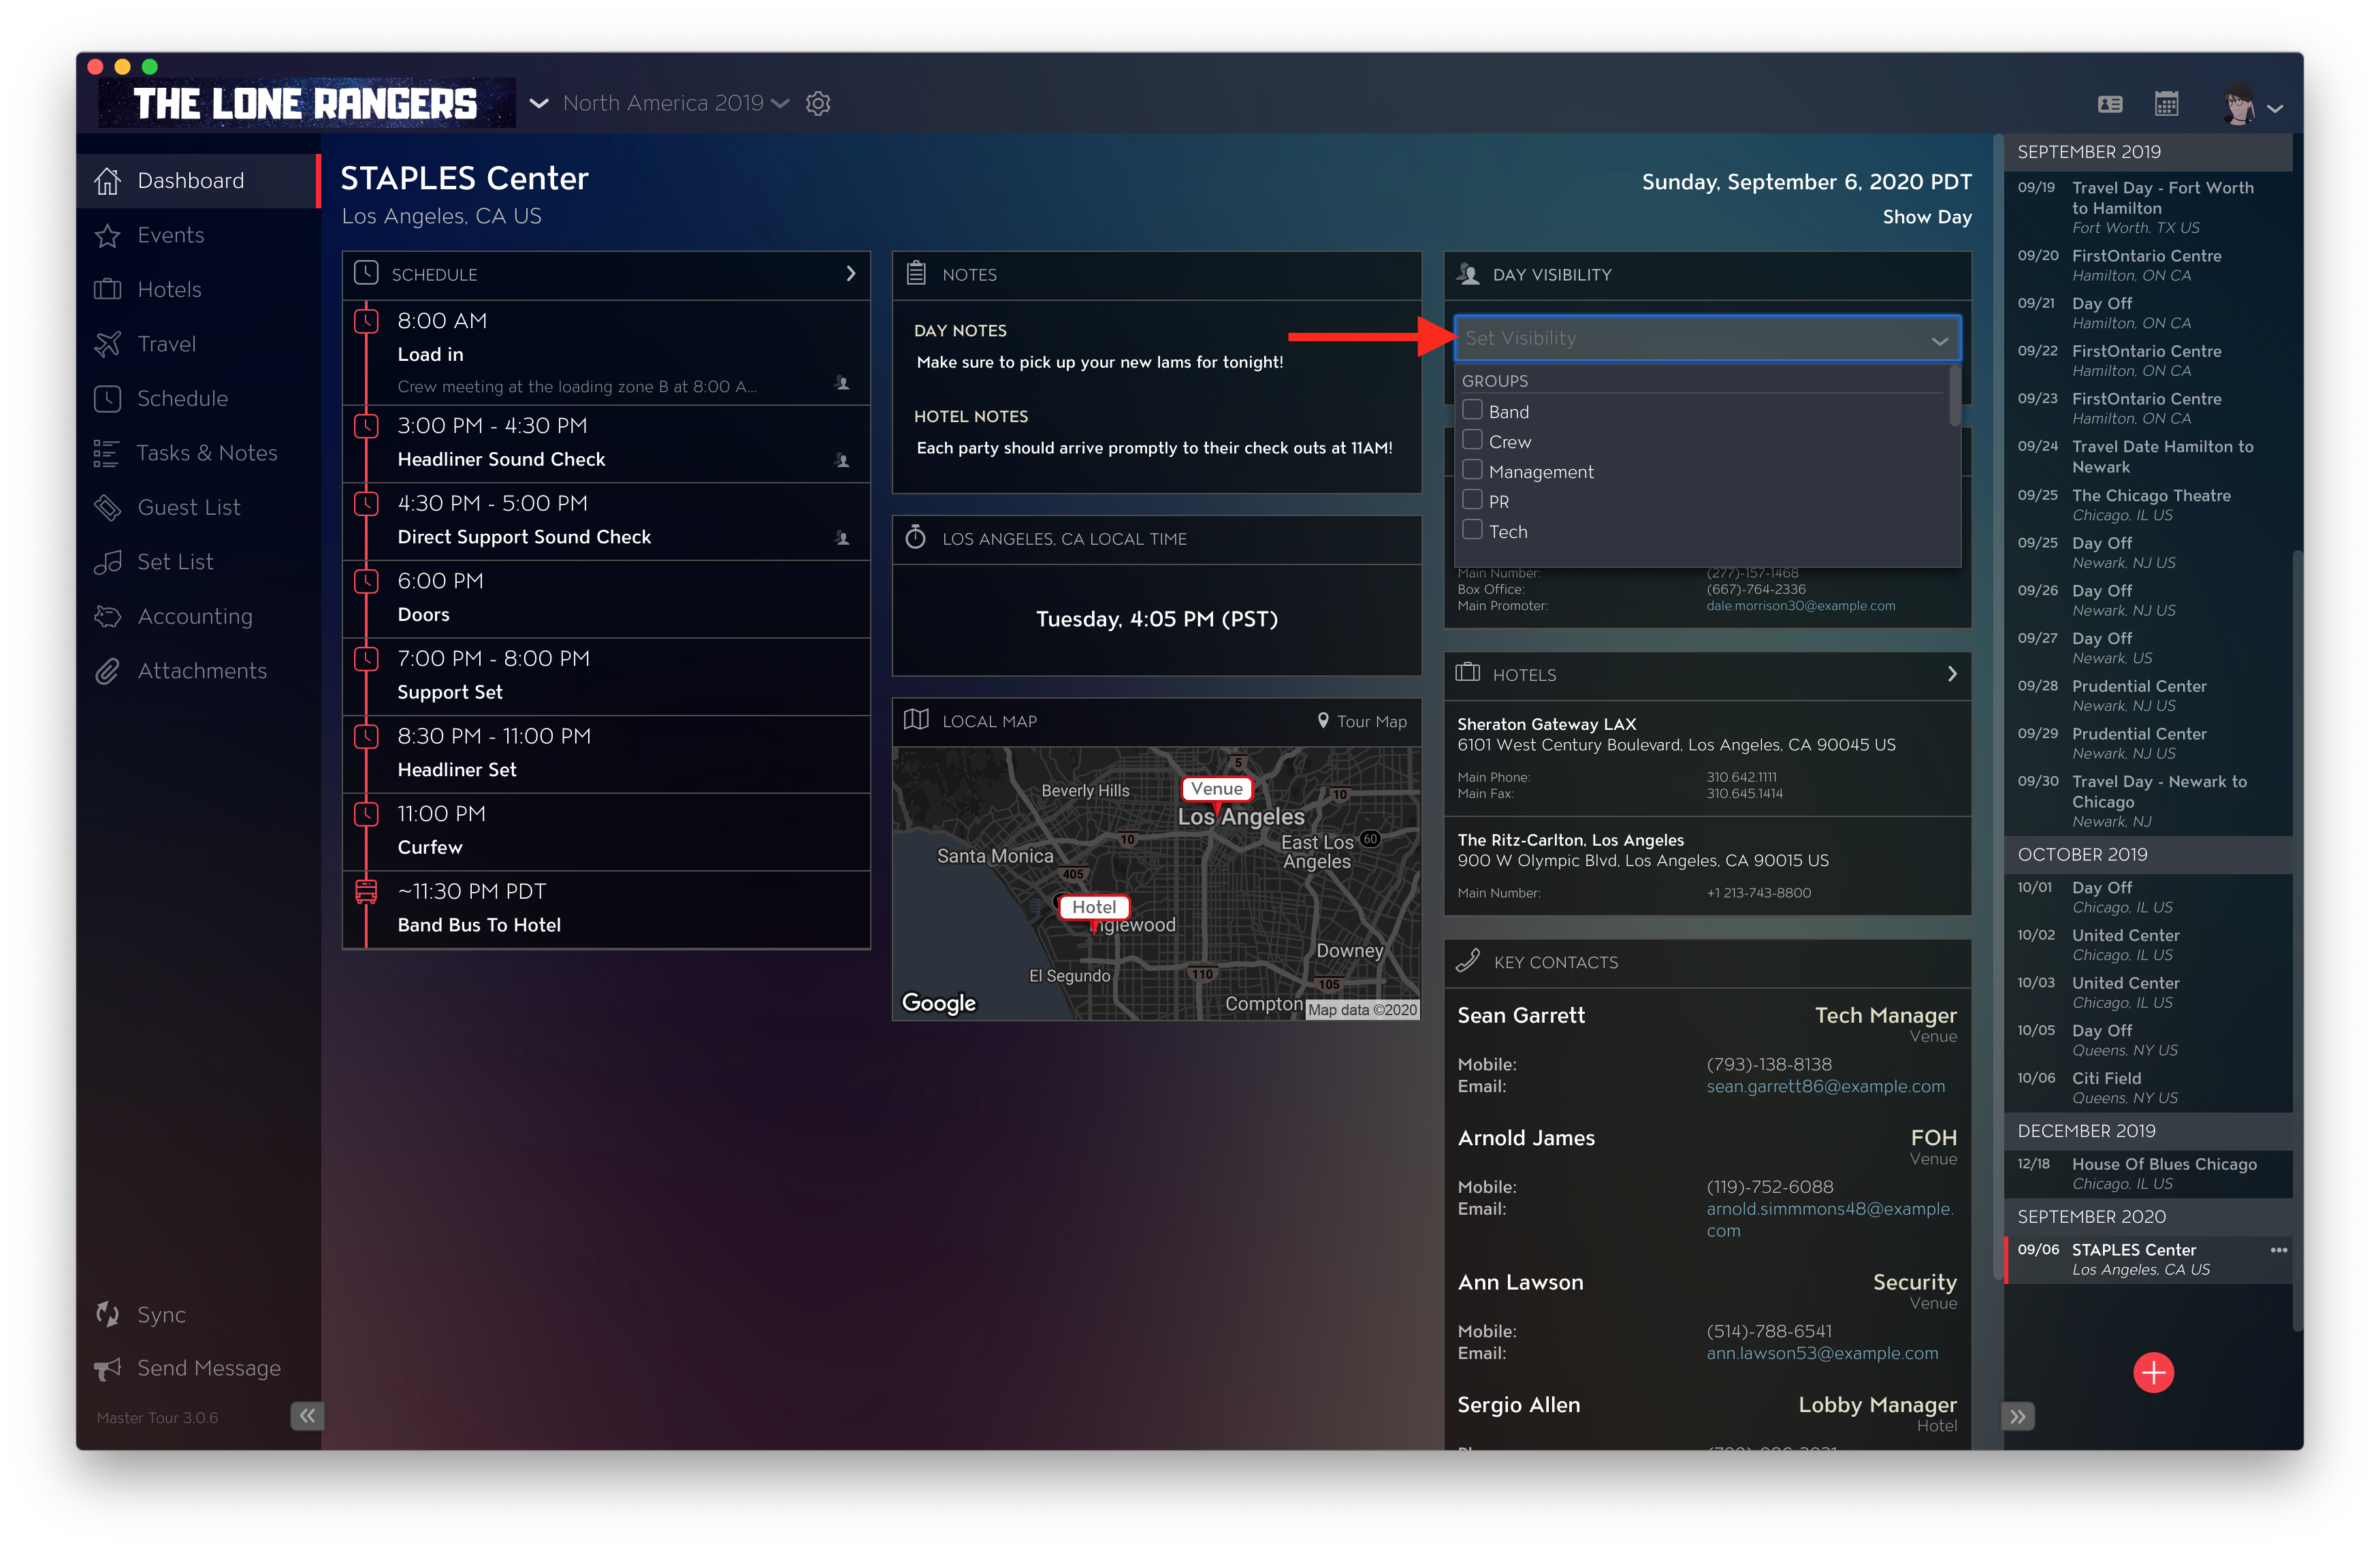
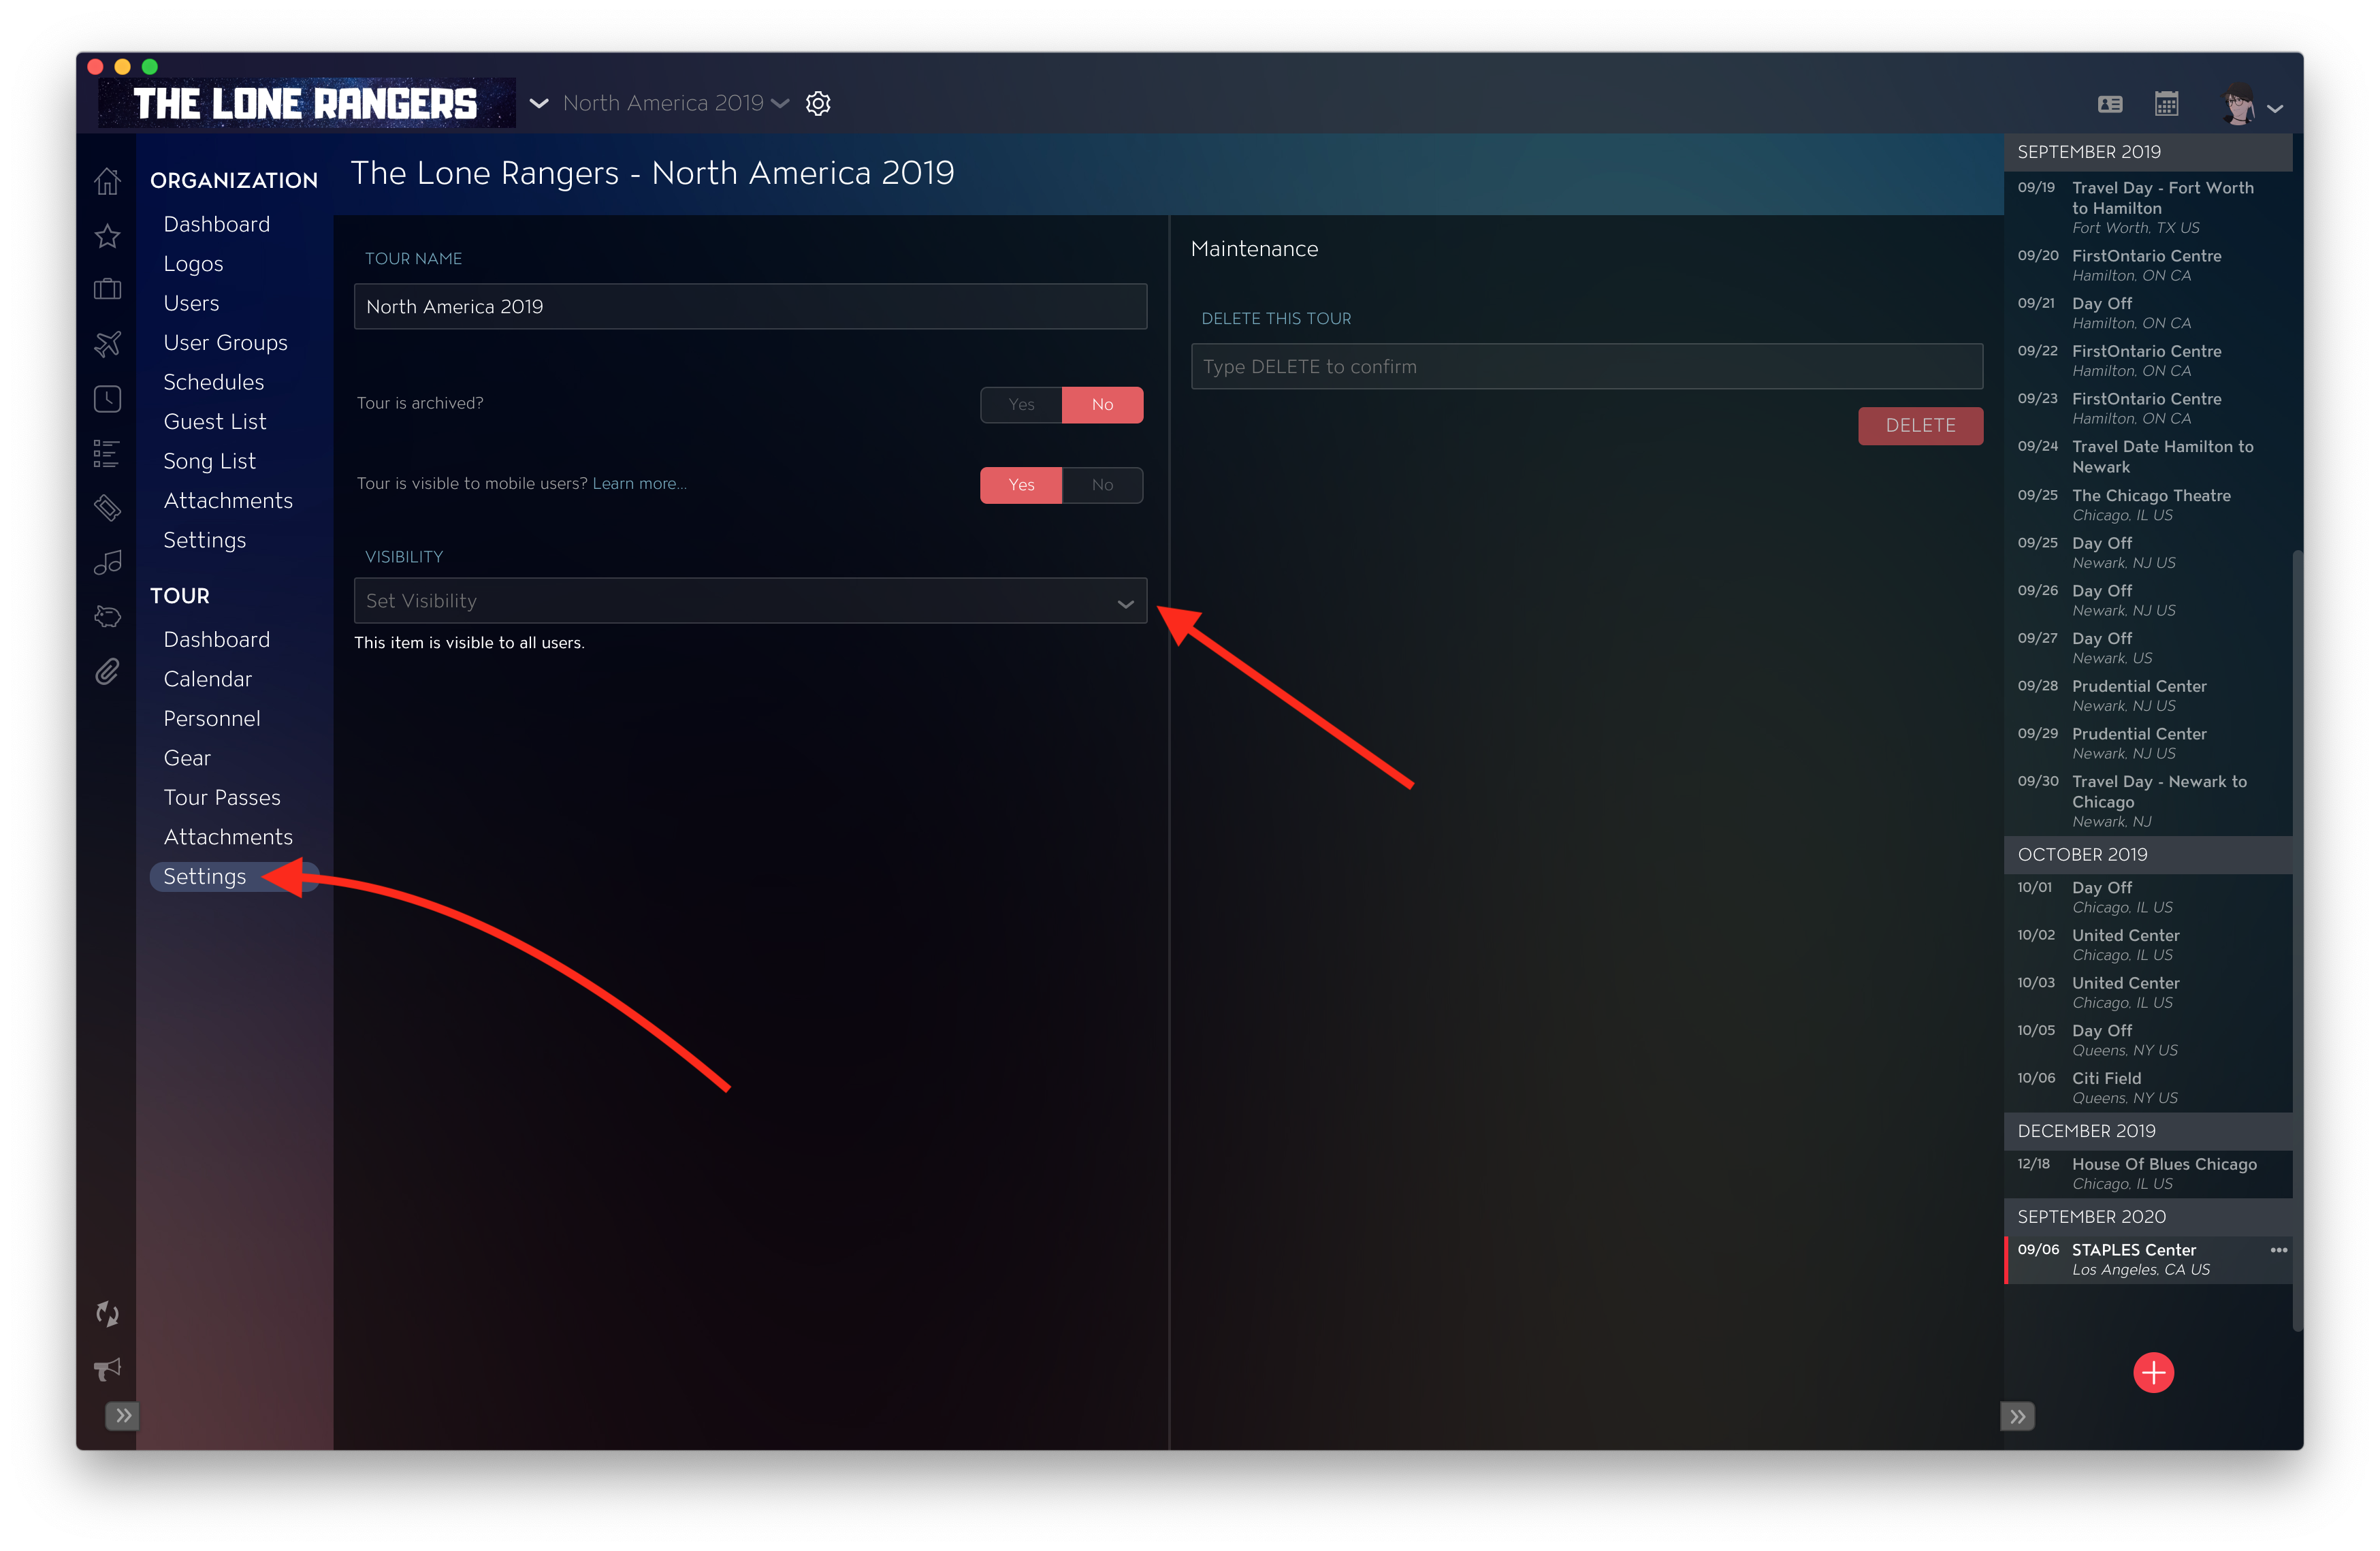
To apply visibility to a whole tour, click on the gear icon at the top left.
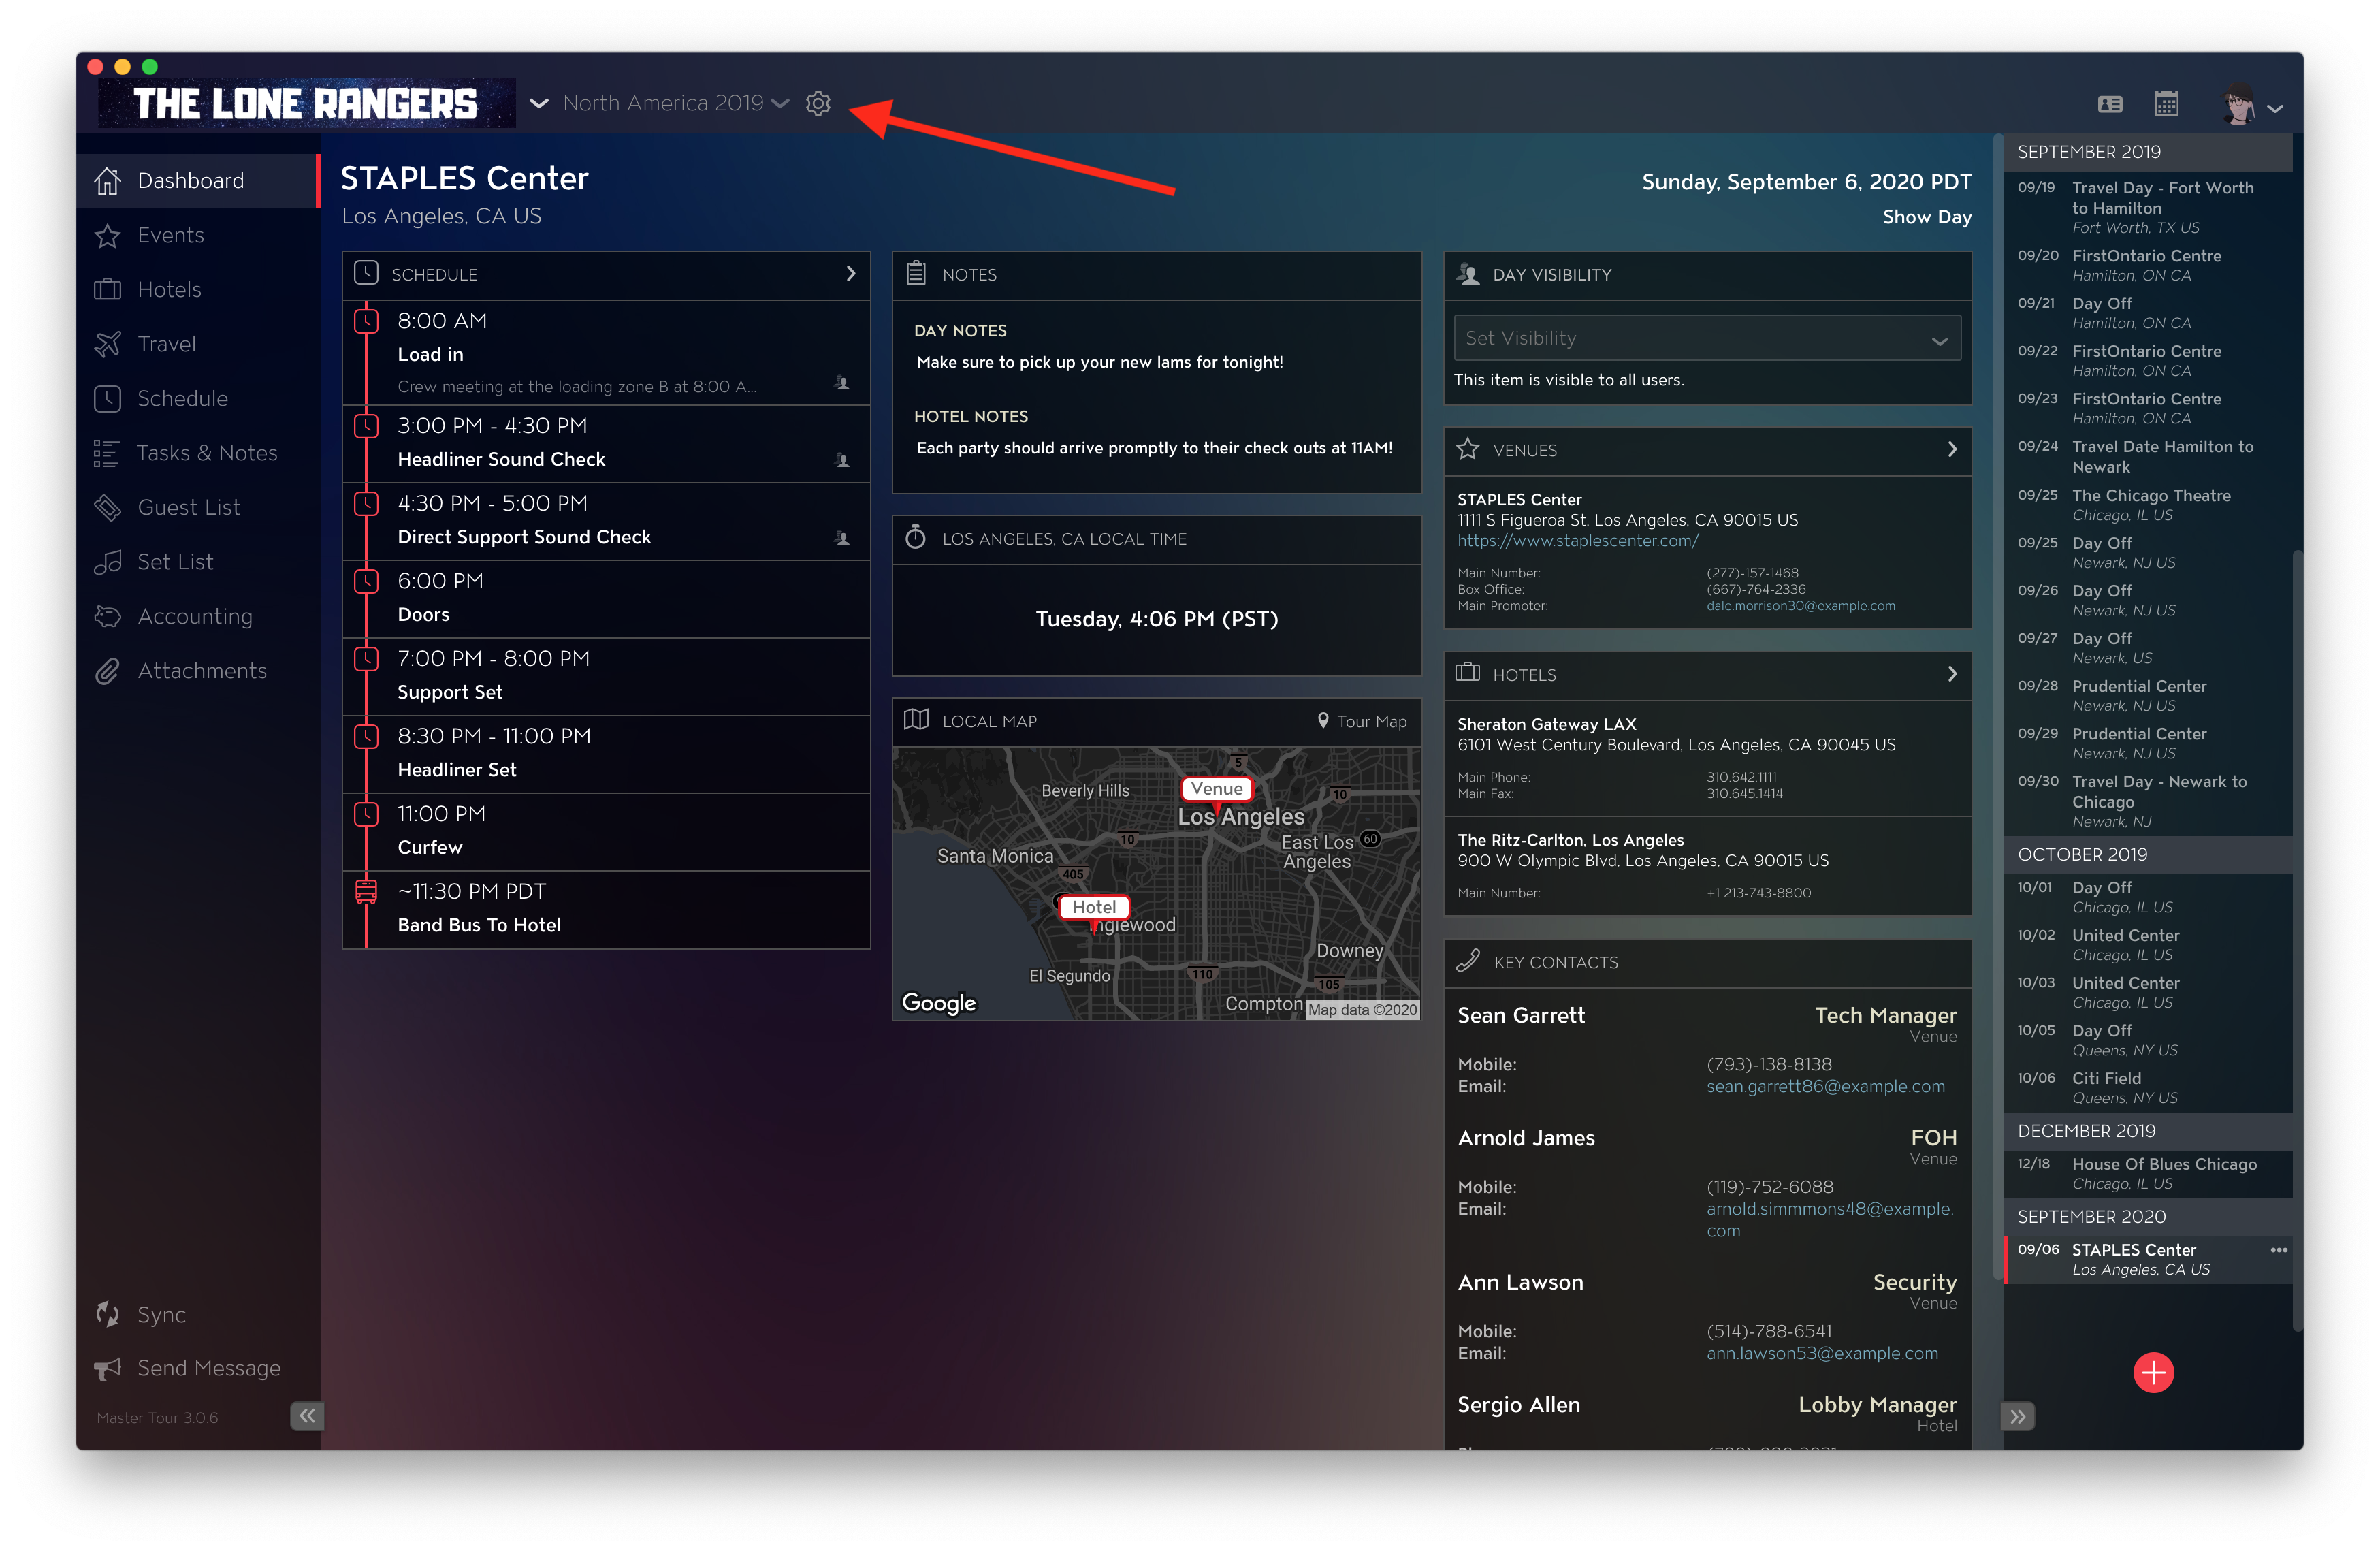
From here, proceed to click on Settings within the Tour category, and you will find the visibility option at the upper-left side for the whole tour leg.
Understand Visibility on Mobile
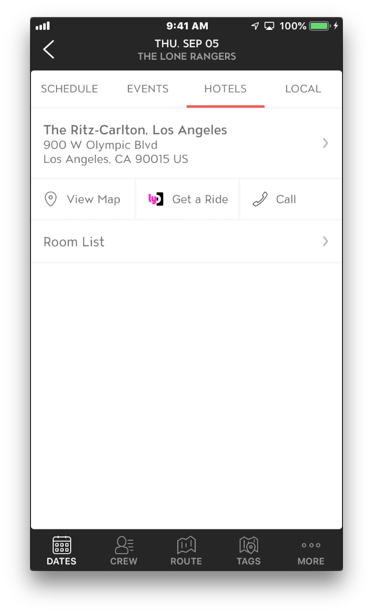
Visibility works on a seamless level in which users who have it applied to them will simply see the item per usual. In this example, we have a band member viewing on the mobile app with a specific hotel recordset to them.
Note: By default, all users will see an item if no visibility is applied to it.
A user with a manager (or higher) level permissions will be able to see all information regardless of applied visibility.